The summer is looming large and long for parents and children.
We’re all going to have a lot of time on our hands, so let’s use it well. Here are instructions for teaching your children five fun, exciting, and rewarding skills that will keep them active and occupied.
How to ride a bike
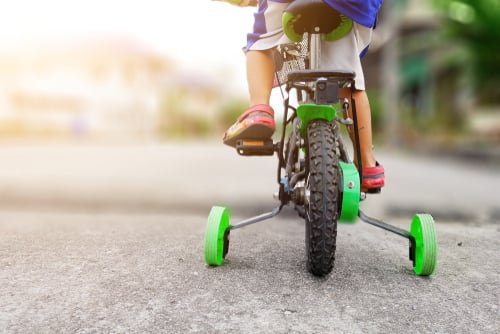
While older children (or even adults) can learn to ride a bike, experts recommend starting young, between four and six years old. As the parent, you’ll see when your child has enough coordination. But wait too long, and the child will be more afraid, making it harder to learn.
The key to learning bike riding is called the “balance method.” That means starting WITHOUT PEDALING. Here’s how you do it:
1. Pick an open, flat, smooth surface for learning. Grass or pebbles take more effort for biking.
2. Make sure the saddle height is correct, with the tips of your child’s feet touching the ground.
3. Have the child push off with his feet and glide, feet up, for as long as possible. This teaches balance, the most important aspect of bike riding.
4. Once the child is comfortable with long stretches (three seconds or more) of gliding, slowly introduce pedaling.
Make sure your child is wearing a helmet to protect from head injuries during the inevitable falls.
Pro Tip: If you need to support your child at the beginning, the cyclingweekly.com experts recommend holding onto the child instead of the bike.
How to swim
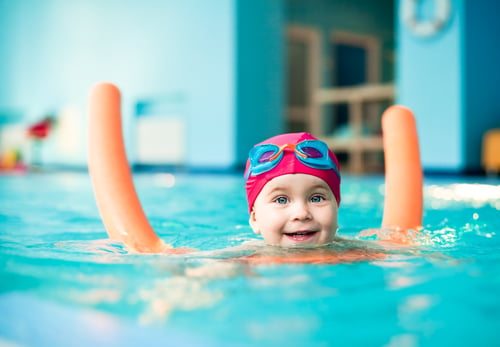
Learning how to swim isn’t only recreational. It’s an important safety skill, too. While you may want to invest in a few swimming lessons, you can teach your child the foundational skills that will make learning a snap.
1. Get your child comfortable being in the water. It’s crucial to be used to the feeling of having your face wet.
2. Practice floating. Start with the child holding onto the sides of the pool and letting her legs float behind her. From there, transition to back or stomach floating.
3. Strong kickers are strong swimmers. Using the side of the pool or a kickboard, practice strong, smooth kicks with outstretched legs.
4. Learn to blow bubbles. All the experts agree that you should NOT hold your breath underwater. Instead, exhale slowly and then lift your face for another breath. Bubble blowing teaches that skill.
Most important: Have fun! Teach your child that swimming is an enjoyable experience.
Pro Tip: Taking a deep breath increases the body’s buoyancy and makes it easier to float.
How to fly a kite
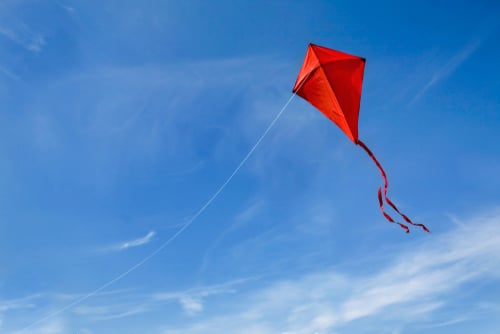
Learning to fly a kite is a lesson in aerodynamics, but we’ll try to keep it simple. Really, flying a kite IS simple once you know the basics.
Let’s start with some basic kite terminology:
- Nose – top point of the kite
- Leg – bottom point of the kite
- Flying line – long string that you let out to fly the kite
- Bridle – string that connects the nose, leg, and flying line
- Bridle point or tow point – place where the flying line connects to the bridle
- Tail – Lightweight material added to the leg of a kite to improve its balance
Got that? Great. Now you’re ready to fly:
1. Wait for a windy day. But not too windy. Wind speeds more than 25 mph are too strong for most kites.
2. Choose an open area, away from trees (kites’ avowed enemies), other kites, or power lines. Remember Ben Franklin? He’s lucky he got off so easy. Kite strings, especially damp ones, attract electricity. So, keep your kite far away from electrical wires and NEVER fly a kite in a storm.
3. Stand with your back to the wind. Hold your kite at the bridle point and slowly let out the flying line. The wind should pick up the kite right away.
4. Alternate between letting out line and pulling it in to help the kite gain altitude.
But what if your kite doesn’t fly? The simplest troubleshooting involves the bridle point. In general, the bridle point should be closer to the nose of the kite. That helps the nose rise above the tail.
If your kite is floundering, try adjusting the bridle point by a half an inch at a time.
Pro Tip: If the kite sinks tail first, there might not be enough wind. If it comes down headfirst or spins, there might be too much wind. (from Kitty Hawk Kites)
How to rollerblade
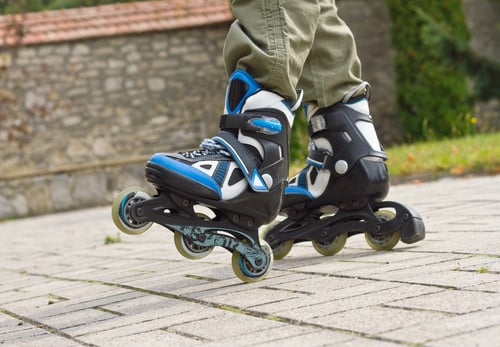
Now, this is getting exciting.
1. Choose properly fitting skates. They should be tight enough to support your child’s ankles, but not so tight that they’re cutting off her circulation.
2. Wear protective gear, including a helmet, knee and elbow pads, and wrist guards.
3. Practice standing up on grass or carpet to help steady the skates and teach the child to balance. Your child should keep her ankles upright and her toes pointed straight ahead.
4. Move to a smooth, flat surface. Start moving by walking slowly, picking up one foot and putting it down in front of the other. Gradually increase the glides between each step, picking up speed.
Pro Tip: Learn how to fall correctly. Teach your child that as soon as she feels herself losing her balance, she should lean slightly to one side and let her body fall gradually, head up. And she should NEVER use her arms to catch herself.
How to skateboard

Imagine the joy of watching your child do an ollie. That’s where a skater launches himself and his skateboard into the air for a few heart-stopping moments.
Just kidding. That’s NOT what your child would be doing on a skateboard this summer. At least not right away. Skateboarding takes a lot of practice before a skater is ready for any tricks.
First, choose your board. Classic skateboards are curved at the ends and about 30” long. Longboards are much longer and flatter. They won’t work for tricks but may easier for a beginner since they’re more stable.
Like riding a bike or rollerblading, skating begins with finding your balance:
1. Suit your child up in a helmet and pads. He WILL fall.
2. Find a smooth, grassy spot to learn to balance on the board. The child should stand with his feet perpendicular to the board. Have him move his feet and rock, learn how the board feels, and stay standing on it.
3. Move to an open, flat, concrete surface. Your child should pivot his front foot forward, parallel with the board. Then, he’ll bring his other foot to the ground and gently push off and glide.
4. Next, have him try riding with both feet pivoted perpendicularly on the board while it glides. He should keep his knees bent and his weight forward. He should get used to the rhythm of pushing off, pivoting his feet sideways to ride, pivoting straight, and pushing off again.
Then practice, practice, practice. Soon your child will be ready to try an ollie. (But only with your blessing, of course.)
Pro tip: Skate shoes are specially made with sturdy sides and flat bottoms. If you don’t have them, have your child wear shoes that are made of canvas and have flat soles. They help the skater feel the board and keep balanced. (SkateboardersHQ.com)
Here’s the bottom line: Be prepared for some bumps and falls, but with determination, instructions (and padded protective gear), your child can gain confidence and expertise with new skills this summer.