There is an aura of magic and mystery surrounding baking with yeast. After all, yeast is alive! It’s also exciting and somewhat temperamental, which is perhaps why baking bread or yeast cake
is a uniquely challenging and therefore uniquely satisfying experience. But even novice bakers can deflate some of yeast’s mystique with the proper information.
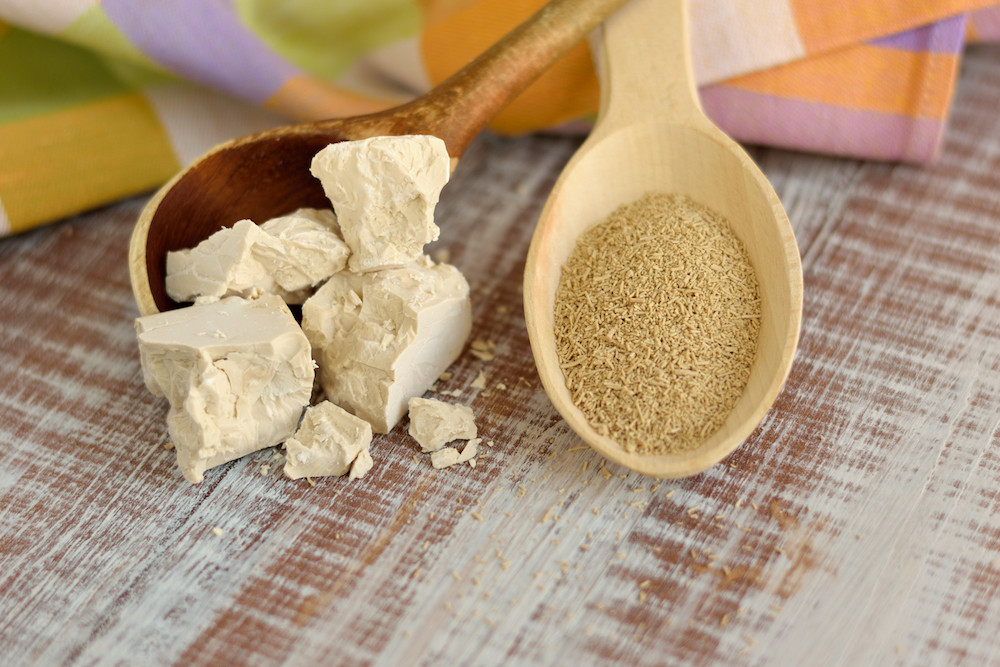
The Different Types
Vacuum packed yeast: Often sold in foil packages, it should be stored in the fridge once it’s been opened and used within the expiration period.
Dry yeast: Sold in a strip of three foil-lined packages, it’s packed to remain fresh for at least 12 months without refrigeration. It should be stored in a cool, dry place. Dry yeast can be used in two
ways. Either it’s dissolved separately in warm water (110-115º F or 45º C), or it’s blended with part of the flour and other dry ingredients, and then a higher liquid temperature (120-130º F or 50º C) is used. By coating the yeast with dry ingredients, warmer temperature liquids can be used without concern that the yeast will be killed.
Fresh yeast: Available in block form, it’s moist and creamy with a firm, fairly brittle texture. Because it’s perishable, it should be stored in the fridge and used within a few days. It is usually dissolved in lukewarm water (80-95º F or 26-35º C).
Click here for a challah recipe using fresh yeast.
What You Need to Know
The Freshness Test: Test your yeast for freshness by putting a tablespoonful into ¼ cup of warm water with a few grains of sugar. Sugar encourages the formation of carbon dioxide. If the mixture becomes foamy in 5-10 minutes, your yeast is alive and well and ready to use. If it remains inactive, start over with fresh yeast.
Substitutions: Use approximately 1 teaspoon crumbled fresh yeast for each ½ teaspoon of dry yeast.
Liquids: Generally warm water is used to proof yeast, but other liquids can be added to the dough as well, such as juice, soy milk, regular milk, and potato water. The latter gives dough a fabulous texture.
Other ingredients: Because yeast works best in a moderately warm environment, all ingredients should be at room temperature before you begin. The amount of flour needed to make the dough will vary according to the type of flour and the amount of humidity in the air. (On a humid day, a dough will require more flour; in a dry climate, less flour.)
How to judge when the dough has enough flour: Always use only enough flour to make a soft dough that leaves the sides of the bowl. Many bakers add too much flour, which results in a dry ough/loaf. The less flour that is added, the more tender the coffee cake or rolls will be. To gauge whether your dough has enough flour, squeeze the dough gently with your entire hand. Even with especially soft, sticky dough, your hand will pull away cleanly once the dough has enough flour.
Yeast By Stages
Kneading: This is the process of working dough into a smooth, elastic ball. Kneading develops the gluten by making it stronger and more elastic for better volume. Kneading also produces a finer grain
or texture in breads. This can obviously be done in the mixer, but doing it by hand is sheer magic as the dough changes texture slowly but surely under your hands. It’s a good idea to dip your hands often in flour when kneading by hand, until the dough no longer clings to your fingers.

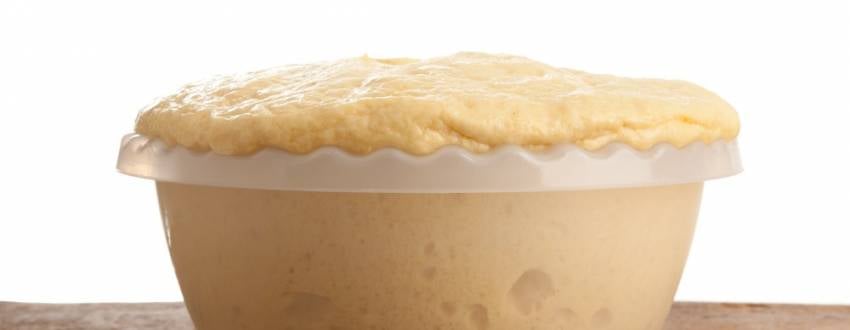
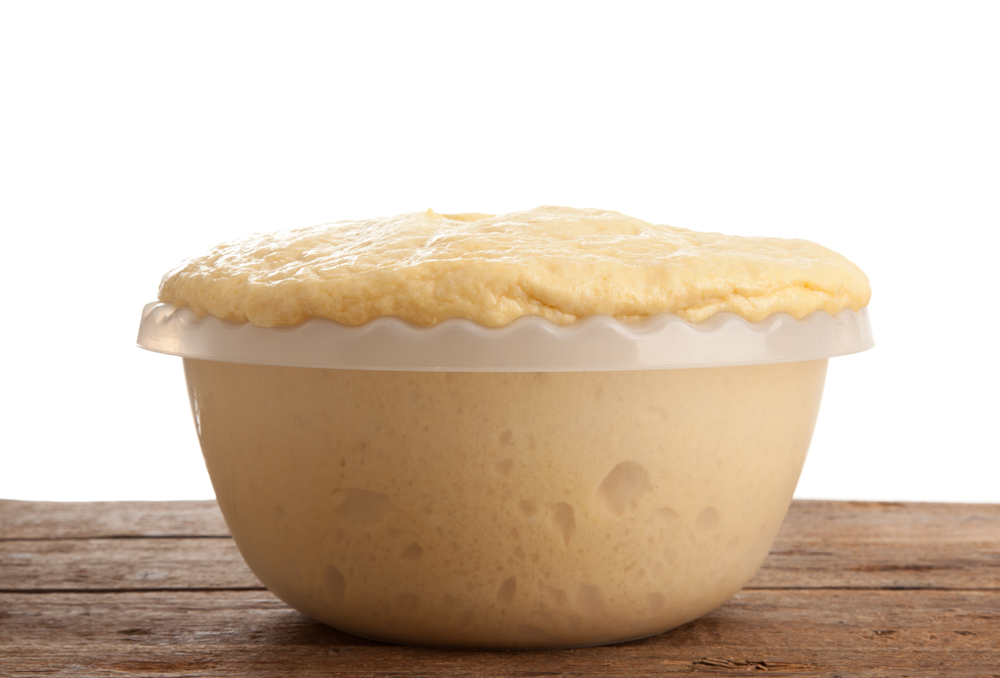
Rising the dough: Place the dough in a large greased bowl. You might want to lightly brush the top of the dough with a pastry brush dipped in oil, so that it doesn’t dry out while it’s rising. Cover with a light towel (I often put it first in a large garbage bag to “choke” it), and place in warm spot until the dough has doubled in size. You can tell when dough is ready by pushing down into the dough with two fingers. If the indentation remains, it is ready to be punched and shaped. Dough can also rise in the fridge for up to 12 hours. Before shaping, remove the dough from the fridge and let it stand at room temperature for about two hours.
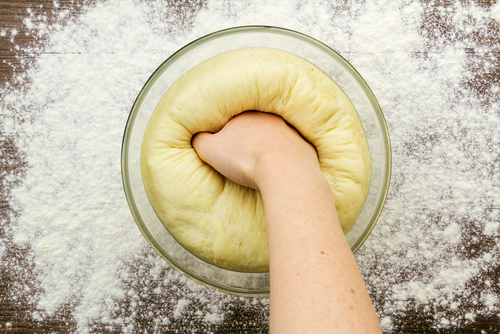
Punching down the dough: Punching down the dough releases the air bubbles formed by the yeast during rising, which produces a finer texture. Gently push your fist into the center to deflate the dough. If you have time, let the dough rest 10-15 minutes after punching down and before shaping. Cover with an inverted bowl. This relaxes the gluten in the dough and makes the dough easier to roll
out and shape. Some kinds of dough are quite elastic and will “pull back” at first when rolling out.
Shaping: Follow the recipe for shaping. You can weigh dough to obtain loaves or rolls which are of uniform size. Keep in mind that your loaves or rolls will rise again before being baked and then again in the oven, so don’t make them too large or fill the pans too much. Moistening the edges of the dough with cold water before pinching helps to seal them, which is especially helpful for dough with a moist filling.
Baking: For best volume and texture, preheat the oven before baking. Remember that air must circulate freely in the oven for even baking. Cool completely before slicing, wrapping and freezing. If it is still warm, condensation can form on the inside of the wrapper and hasten spoilage.
What if …
Your loaf starts to get brown but still has a lot of baking time left?
Cover it with a piece of aluminum foil or baking paper.
You’re interrupted in the middle of baking with yeast?
Don’t worry. If it’s quick, just cover the dough to keep it from drying out. If you have an emergency, punch the dough down, cover with plastic wrap, and put it in the fridge until you can get back
to it.
Your dough doesn’t rise at all?
Either the yeast was inactive when you started or you killed it with liquid that was too hot or not warm enough. Start again!
Your bread/coffeecake is pale and damp?
You didn’t bake it long enough. Put it back in the oven and bake it for another 15-20 minutes — even if you cut it already.
———-
Reprinted with permission from Mishpacha Magazine.