


In a small bowl, dissolve coffee in boiling water. Set aside.
In a food processor fitted with the S blade, crush graham crackers into fine crumbs.
Transfer crumbs to a bowl and add butter. Mix well.
Pour into a seven- or eight-inch springform pan and press firmly to create an even crust. Freeze for about 30 minutes to set.
Prepare the cream cheese mixture: In the bowl of a mixer, beat whip topping on high speed until soft peaks form. Transfer to another bowl or container and set aside. (No need to wash the mixer bowl.)
In the mixer bowl, beat cream cheese, sour cream, and Greek yogurt until smooth. Add sugar and mix well.
On low speed, mix the whip into the cream cheese mixture until just combined.
Measure three tablespoons coffee (from step 1) into a small bowl or cup, reserving the rest for step 11. Add gelatin and mix well. (You may need to heat this to help dissolve the gelatin.)
Add three to four spoonfuls of the cream cheese mixture to the coffee/gelatin and stir quickly until well blended. Pour into the mixer with the rest of the cream cheese mixture. Mix until combined.
Remove the pan from the freezer (see step 4). Pour half the cream cheese mixture over the crust and spread in an even layer.
Working with one ladyfinger at a time, dip into the remaining prepared coffee and place in the pan, over the cream cheese layer. (You’ll need to move quickly so the cookies don’t fall apart.)
Pour the remaining cream cheese mixture over the ladyfingers. Refrigerate overnight until set.
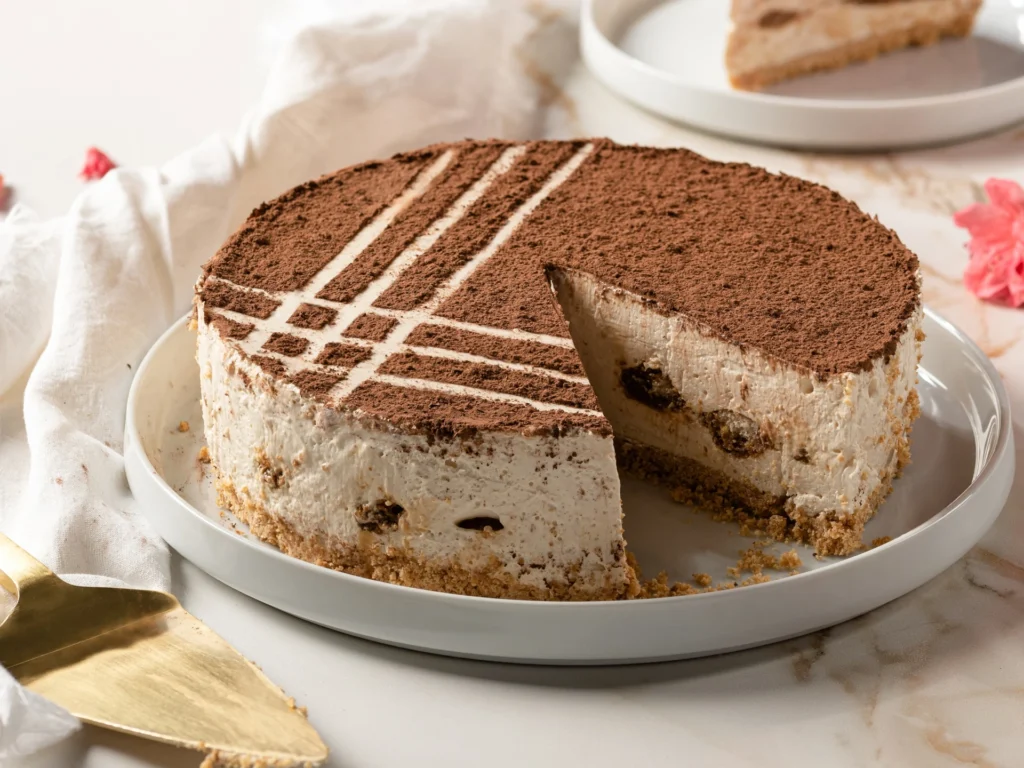
When you’re ready to serve, dust cocoa powder over the top.
Directions
Credits
Tips:
Decorating tip: Use ribbons or stencils to create fun patterns. If using ribbons, cut a few pieces a little longer than the widest part of your pan. Lay across the cake in a pattern, pressing gently so they slightly stick to the cake. Dust with cocoa powder and then gently remove the ribbons to reveal a decorative pattern.
Description:
Photography by Chay Berger





Photos from Our Community
See how these recipes turned out in real kitchens. Photos from home cooks will appear here as they're shared.
Tell Us How It Went: Share Your Experience
Your review could help someone decide what's for dinner tonight. Log in to join the conversation.
Log in to join the discussion0 Comments
Do you want to rate this post?
Edit your rating
Choose a new star rating and save it.
Moderation
Report
Kosher Comments
Kosher Comments
Add a link
Posting comment
Your comment will be posted in a moment...