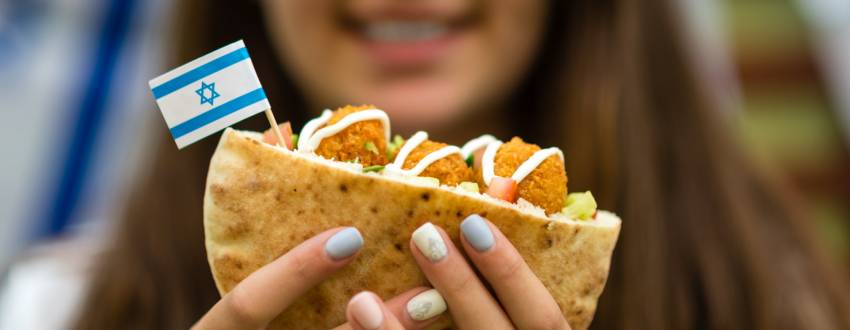
FINALLY! A month dedicated to the cookery and consumption of the most universally loved food group of all time: FRIED FOOD!
Oh, did you think I was going to say Chanukah? Because Chanukah rocks also. What’s not to love about a holiday that brings families together every night to light candles, sing songs, and play games? Literally nothing. It’s the perfect winter time pick-me-up, feel-good holiday. And on top of all that of course, there’s the food.
The fried food.
This is the food that we are actually meant to eat on this holiday because it is cooked in oil. Oil that commemorates the remaining jug of oil that lasted eight nights instead of one, that was found after the mighty Greek army was defeated by the Jewish underdogs. That’s right; It is actually holy to eat fried food on the eight days of Chanukah. So, get your stretchy pants (and skirts) on, and dig in!
Actually, hold that thought.
Before you dive headfirst into a pile of whatever fried food you are going to be eating—whether it’s doughnuts, latkes, mozzarella sticks, schnitzel, battered oreos… you get the idea—we first need to figure out how to actually properly fry the food.
Wait a minute, Danielle. You mean you don’t just pour oil into a pot, throw the food in for a few minutes, take it out, put it on a paper towel then eat it?
That’s exactly what I mean! Not all food is created equal. Some foods need to fry at higher temperatures, some foods lower. Some foods need to be frozen before they can be fried and some are best fried when they are at room temperature. However, there is one thing they all have in common: No matter what they are, they will taste infinitely better if they are taken out of the oil and placed on a cooling rack instead of a few sheets of paper towels.
Yup, that’s right. If you stop to think about it for a few minutes it really makes sense. You fry the food, take it out of the pot with a slotted spoon, but it’s still dripping with hot oil. So, you do what your mother did. You place it on a few layers of paper towels to absorb the excess oil. But, what happens? The fried food is now sitting on the oil laden, super moist and steamy paper towel. And when it comes to fried food, steam is the enemy! We don’t want it anywhere near our perfectly golden and crunch bits of heaven.
Ideally, we want our fried food to be magically suspended in the sky to allow any oil to naturally drip off with out any escaping steam being allowed to return to the outer layer of our food. Unfortunately, suspending food midair is not a power that I currently possess. If you do, by all means, suspend away. For those of you out there like me, who sadly have no magical powers to speak of, we do have another alternative.
Drum roll please…
COOLING RACKS!
(insert super bowl stadium worthy applause)
It’s the answer to all of our soggy fried food problems. The racks gives us the perfect way to let the oil drain from the food while simultaneously allowing the steam to escape. No more fried food that’s perfectly crispy when taken out out of the pot and left with only one crispy side within minutes! We are talking entire batches of all-sided crispiness. So, is worth it to actually go out and buy a cooling rack if you don’t have one?
In fact, buy two; One for dairy and one for meat.
They’re not expensive at all, and let’s be real for a second, frying food is annoying. If you’re actually going through all that effort to bread or batter, freeze or not freeze, roll, and coat, you might as well spend the few dollars to make sure that your fried food tastes as good 10 minutes after you made it as it did the second to came out of the pot!
I do have a small cooling rack tip for you all though.
The oil will leak through rack and onto your counter. Then you have to clean the counter. UGH. Roll out a piece of tin foil big enough to fit under the cooling rack with extra space on all sides. Create a little lip all around by folding up the edges of the foil. When you are done, simply remove the cooling rack to the sink, roll up the foil, and dump it in the garbage.
And voilà! Clean counter and crispy food.
Ok, if you didn’t stand up and partake in that first round of applause, you can get in on the clapping action now. I am officially done with my cooling rack rant, and I am currently counting down the seconds until I get to whip up my first batch of latkes for Chanukah! And of course, put them on my cooling racks.
Wishing you all a light-filled, crispy-coated, delicious, and of course, happy Chanukah!
Looking for meal ideas this Chanukah? Check out our Ultimate Chanukah Menu!