
Are you embarrassed to open your closets?
Does your garage make you cringe?
Attics, basements, and those-random-spaces-that-become-catch-alls seem to defy all attempts at organization – unless you have a PLAN.
Here are six steps to taming any storage area. We’re not going to pretend it’s easy, quick, or even fun. But it’s an organized approach to organizing that will put you on the path to success.
1. Get rid of what you don’t need
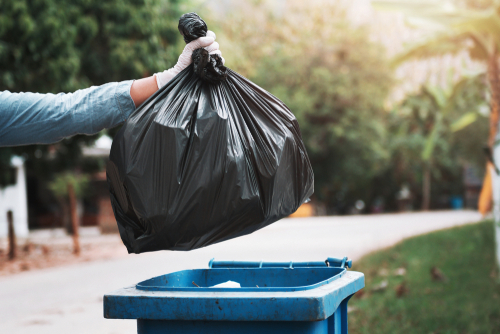
We all know this, but it needs to be said. Sorted and labeled garbage is still garbage!
Conventional wisdom says that if you haven’t used an item in a year, you’re not going to use it. This applies to wedding gifts you never liked, Passover dishes you never use, and old children’s clothing you’ll never put on another kid.
Most people seem to get stuck on this first step. Some find it too emotionally wrenching. If you just can’t make those hard decisions, invite a friend or family member to give your junk some tough love.
And don’t get stalled, as many do, before the finish line. Once you’ve decided to discard something, give it away, trash it, sell it, or donate it RIGHT AWAY.
2. Make a plan

Phew! You did the hard part. Now that the junk is gone, assess what you have and how you’d like to organize it:
- What do you want your space to look like when you’re done?
- Will it remain a storage space?
- Do you want to clear the clutter to use the area in the middle?
- How often will you use the items you’re organizing? (daily, monthly, seasonally)
- Who will be accessing them? (adults, kids, both)
- Are the items fragile or sensitive to heat and cold?
If you’re not sure what the best storage method is for your space and goals, look for ideas online, in magazines, or at your friends’ houses.
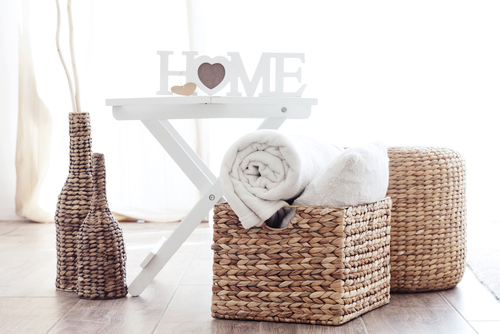
3. Invest in storage items
Cardboard boxes are free, but they’re not waterproof and tear easily. Storage items are worth the money, but if you buy too early in the process, you can waste money on cool-looking systems that don’t meet your needs. Only invest after you’ve done steps 1 and 2.
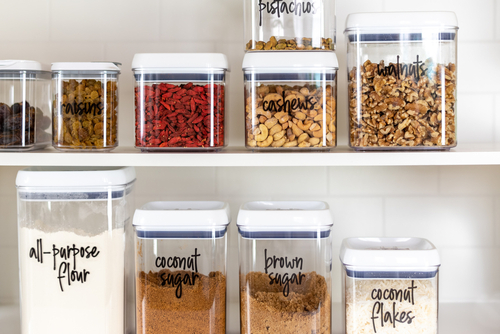
- Plastic storage bins – Clear bins let you see what you’re storing, but opaque containers work if you label them. (And if you don’t want to see what’s inside!) Plastic bins are great for children’s clothing, but only keep the clothes if you’ll realistically use them again.
- Shelving units – Plastic units are less expensive and work for lighter items. Choose wire shelves for heavier items.
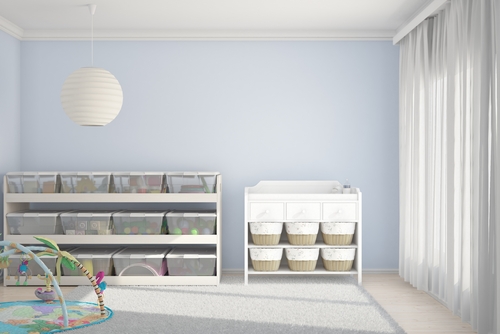
- Cubbies – Perfect for toys, shoes, and backpacks.
- File cabinets – A MUST for papers. Get RID of those cardboard file boxes.
- Portable clothing rack – A neat way to store winter coats, maternity clothes, or off-season clothing.
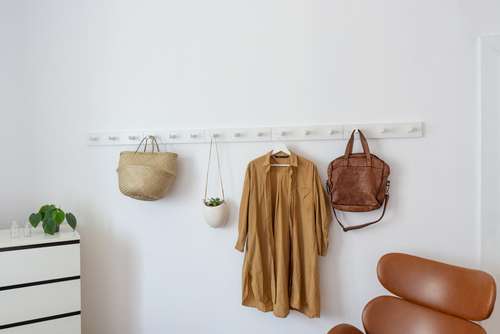
4. Use your walls and ceiling
Capitalize on every inch of perimeter space to free up walking or living space in the center of the room.
- Hooks – Ironing boards, brooms, mops, and shovels can hang on hooks. Stronger hooks can hold riding toys, scooters, bikes, chairs, shovels, lawn equipment, or tables.
- Pegboard – Great for arts and craft supplies, tools, kitchen utensils, and keys. You can attach hooks, shelves, or bins to a pegboard, so your options are limitless if the items aren’t too heavy.
- Hanging racks – If it works to have them high overhead, use hanging racks for bins, bikes, or clothing.
- Track shelving –Pantries, closets, and garages can all use track shelving.
- Clips – Clips can hold mops, brooms, shovels, rakes, and more on your wall or ceiling.
5. Create an easy-to-use organizational system
Now that everything has a box, shelf, or hook, organize the space so you can easily find and access what you need:
- Frequently used items should be in the front, while seasonal things can be harder to get to.
- Label everything!
- Group like items together. You can group by season, item type, family member, or any system that works for you. Just stick to it!
6. Keep your space neat by making it easy to put things away
After all that effort, you want the organization to last. So put thought into arranging the space in a way that’s easy to maintain.
You may be committed to putting away items properly, but your family is looking for the easy way out.
- Keep plastic bins on shelves, not in stacks. Stacks of bins are hard to pull out and restack.
- Create a “walkway” so every item is easy to get to and easy to put back.
- Make sure kid items are on kid height level.
- Leave off bin covers when appropriate. Your kids, teens, and, yes, spouse, are more likely to toss an item into a bin if they don’t have to go through the extra step of removing and replacing a cover.
- Leave room for more! We all naturally accumulate more stuff. Build empty space into your organization to accommodate new purchases and gifts.
One more important tip: Don’t push off organizing because you’re waiting for a huge block of time to magically appear in your schedule. It won’t!
Instead, set aside an hour a week to get started. As you build momentum, success will breed success, and you’ll be more enthusiastic. Soon you’ll be boasting about your basement and posting pictures of your pantry.
Let us know how it goes!


