Fish is intimidating for many people – but it doesn’t have to be! While it’s true that fish are a little more delicate and less forgiving than meat or poultry, you can feel confident choosing your fish and preparing it with this comprehensive guide!
CATEGORIES OF FISH
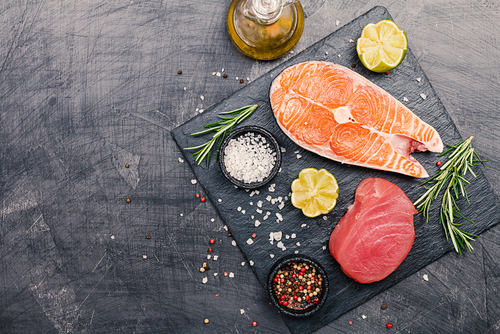
Round Fish – these are the fish that you commonly think about. They have one eye on each side of their head and have a “round” shape. The backbone is on the top of the fish and there are two fillets on each side of its body. Salmon would be an example.
Flat Fish – these fish are flatter looking and have the backbone running through the center, which creates two fillets on each side of the fish, four in total. The eyes are on the same side of the head. Flounder would be an example.
Wild – fish caught in their natural environments; from lakes, rivers and oceans.
Farmed – fish that are raised in enclosures like tanks or enclosures within oceans.
FORMS OF FISH TO BUY
You can buy fish in many different ways: fresh, frozen, pickled, smoked, salted. Here are some ways you can ask for your fish.
Whole – The whole fish is intact and is exactly as it was caught
Drawn – The head, tail and fins are still intact, but the guts are removed.
Dressed – The guts, scales and fins are removed. Also called “pan dressed”
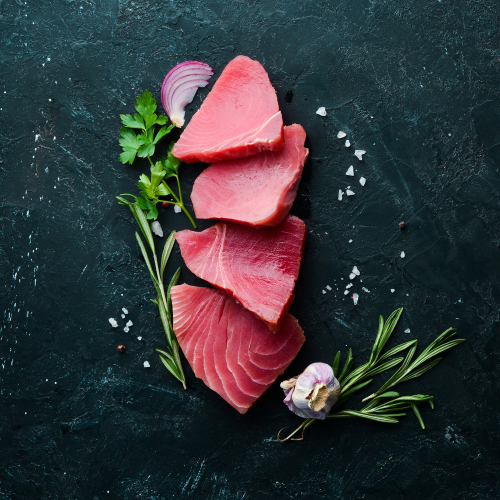
Steaks – This is where the fish has been cut perpendicular to the backbone. The bones and skin are left on.
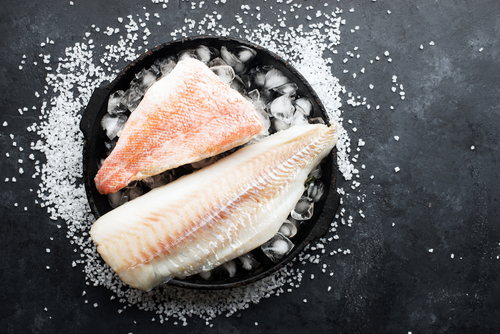
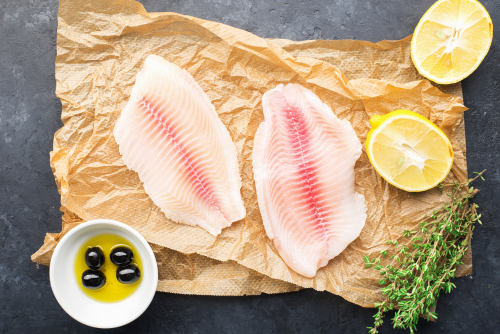
Fillets – These are boneless pieces of the fish cut away from either side of the back bone.
BEFORE PURCHASING
What’s great about choosing fish is that you can decipher the quality by using your senses. Here, I break them down for you to see (or smell!) exactly what to look out for.
Smell:
The number one sense you must use when it comes to fish is smell. Despite what you may think, fish should not smell fishy at all. It should smell fresh like the sea. Briny and clean. Even a slight odor is not acceptable. This would give the indication that the fish is older or was not handled properly.
Sight and Touch:
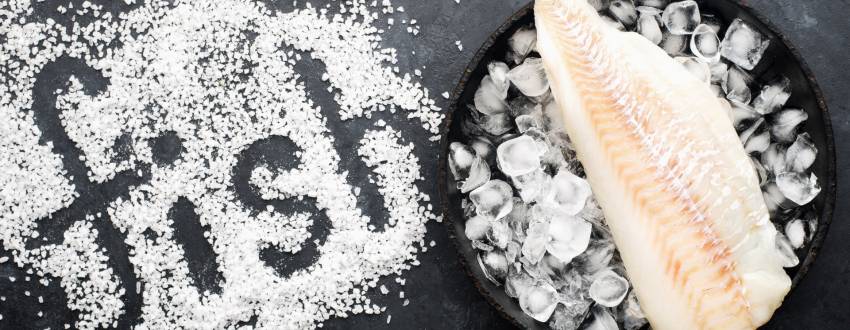
Take a look at how the fishmonger is storing and displaying the fish. Whole fish should be positioned belly down (ideally with ice inside) as if they were swimming. All fish should have shaved or flaked ice, with a slotted receptacle underneath for the ice to drain. If the fish sits in a pool of water, there can be a loss in texture and flavor.
If you are choosing a whole fish with the head on, the eyes should look full and clear. No evidence of cloudiness. An older fish loses moisture and its eyes begin to dip inward. The gills, if present, should be maroon or reddish in color, not a dull gray or brown.
The skin, fins, and tail should look moist and smooth and somewhat plump. No gashes or puncture wounds.
On the flesh, watch out for any gaping of the muscle fibers. You also want to avoid any mushy flesh. If the guts are not removed quickly enough, it can cause “belly burn” which can cause bacteria to grow and make the flesh mushy. Bruising can indicate that the fish was mishandled and can in turn become waste. If you are able to touch the packaging (through plastic wrap, for example), press on the flesh with your thumb and see if it bounces back at you. It should not leave an obvious imprint.
Lastly, if choosing frozen fish, ensure that it does not have any white frost on its edges, as this could be due to freezer burn.
FRIDGE, FREEZER AND DEFROSTING
You can keep the fish in the refrigerator if you will be using it within a day or two, max. Otherwise, keep it in the freezer. Make sure it is wrapped tightly to avoid freezer burn.
To defrost, move it to the refrigerator and let it sit overnight in a bowl or plate to catch any potential leakage. Alternatively, you can run it under cold water (or keep in a bowl with cold water) to defrost fillets quickly. While using the microwave is acceptable, I personally do not recommend it because there is more room for error and the other two options work great!
TIPS FOR PREPPING YOUR FISH
- Bring to room temperature for approximately 15 minutes.
- Season just before cooking – with a bit lighter hand than with other proteins since the flesh is not as dense
- Pat dry really well – fish has more moisture than other proteins. For dry cooking methods, it helps with browning but also to allow seasoning to stick better.
POPULAR FISH AND HOW TO COOK THEM
The general rule of thumb is that the thicker, fattier the fish, the more intense cooking method it can take. Likewise, the more delicate, thinner, and leaner pieces of fish do best with moist cooking or more less intense cooking methods.
- Salmon – grill, sauté, pan-fry, steam
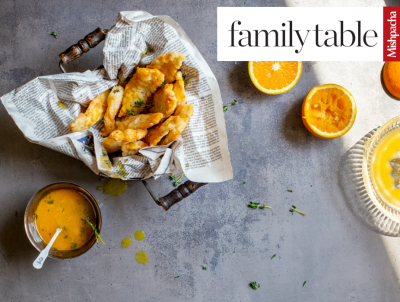
- Cod – bake, broil, en papillote, deep fry, pan-fry
- Halibut – grill, sauté, poach, steam, bake, fry
- Flounder – pan-fry, deep fry, broil
- Tuna – grill, sear, bake
The official temperature given for fish is 145 degrees Fahrenheit, but by the time you check that, oftentimes, it is overcooked. I believe it’s better to under cook a bit because you can always continue to cook if necessary. A thermometer is most accurate, but you can use visual cues.
Just like when choosing the fish – you want to become acquainted with your senses.
Raw fish is more translucent, and cooked fish is opaque (not see through) but just begins to flake. Practice paying attention to this and after a few times, you will start to remember what it looks like.
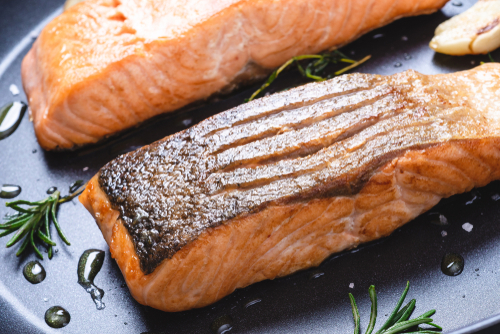
If you want a crispy skin, called the Maillard reaction, start with a hot pan, then oil, add fish and lower the heat. If cooking on the stove, you can clearly see the line of demarcation that is not translucent. If it’s completely opaque and tough to the touch (yes, touch your fish!), then it’s overcooked. Use a thermometer to cook anywhere between 125–130 degrees Fahrenheit and allow it to rest for about five minutes. It will carry over some residual heat.
If grilling, make sure your grill is hot and the grates are clean. Brush both sides of the fish with oil (and seasoning) and place down and allow to cook undisturbed for a few minutes. Test the corners to see if you can lift it without it getting stuck. It will release when ready to flip. Turn over and cook for only a few minutes more on the other side.
CAST IRON AND STAINLESS STEEL
You can cook fish in these, though stainless is a bit more finicky so just pay closer attention. Follow the same rule as above for prepping. Heat the pan first (cast iron takes longer than stainless), add the fat, then the protein, and allow it to cook undisturbed. When it releases on its own, it is ready to be flipped.
WHAT’S THAT WHITE STUFF?
It’s called albumen and it’s a protein that coagulates and comes out to the surface.
- Sometimes cooking the fish too fast causes it, but sometimes even perfectly cooked salmon can have some.
- There is no harm with it, it’s just unsightly. Try cooking it slower and wipe away any that sneaks through.
- Glazes help to keep it in check.
TOOLS
These are my recommendations for tools that will help make cooking fish easier.
- Thermoworks – MK4 thermometer is truly the best. It’s accurate and fast. It also happens to be recommended by America’s Test Kitchen.
- Fish spatula – This slotted spatula helps to carefully flip fish without tearing the delicate skin or that beautiful color you worked so hard to achieve!
- Grill Spatula – This heavier duty spatula works great for the fish on the grill.
- Sizzle platters – These are little platters that work great for bringing the fish to and from the grill, and even for prepping smaller quantities in the oven or broiler.
YOU GOT THIS!
I always aim to make things digestible and easy to understand. Hopefully with this guide, it will give you the confidence to start choosing and cooking more fish to cook for you and your family!
Sandy Leibowitz @plantainsandchallah trained at The Culinary Institute of America and cooked professionally over 12 years. She now helps eager home cooks improve their cooking without recipes, by focusing on techniques and knife skills.