


Braiding Instructions
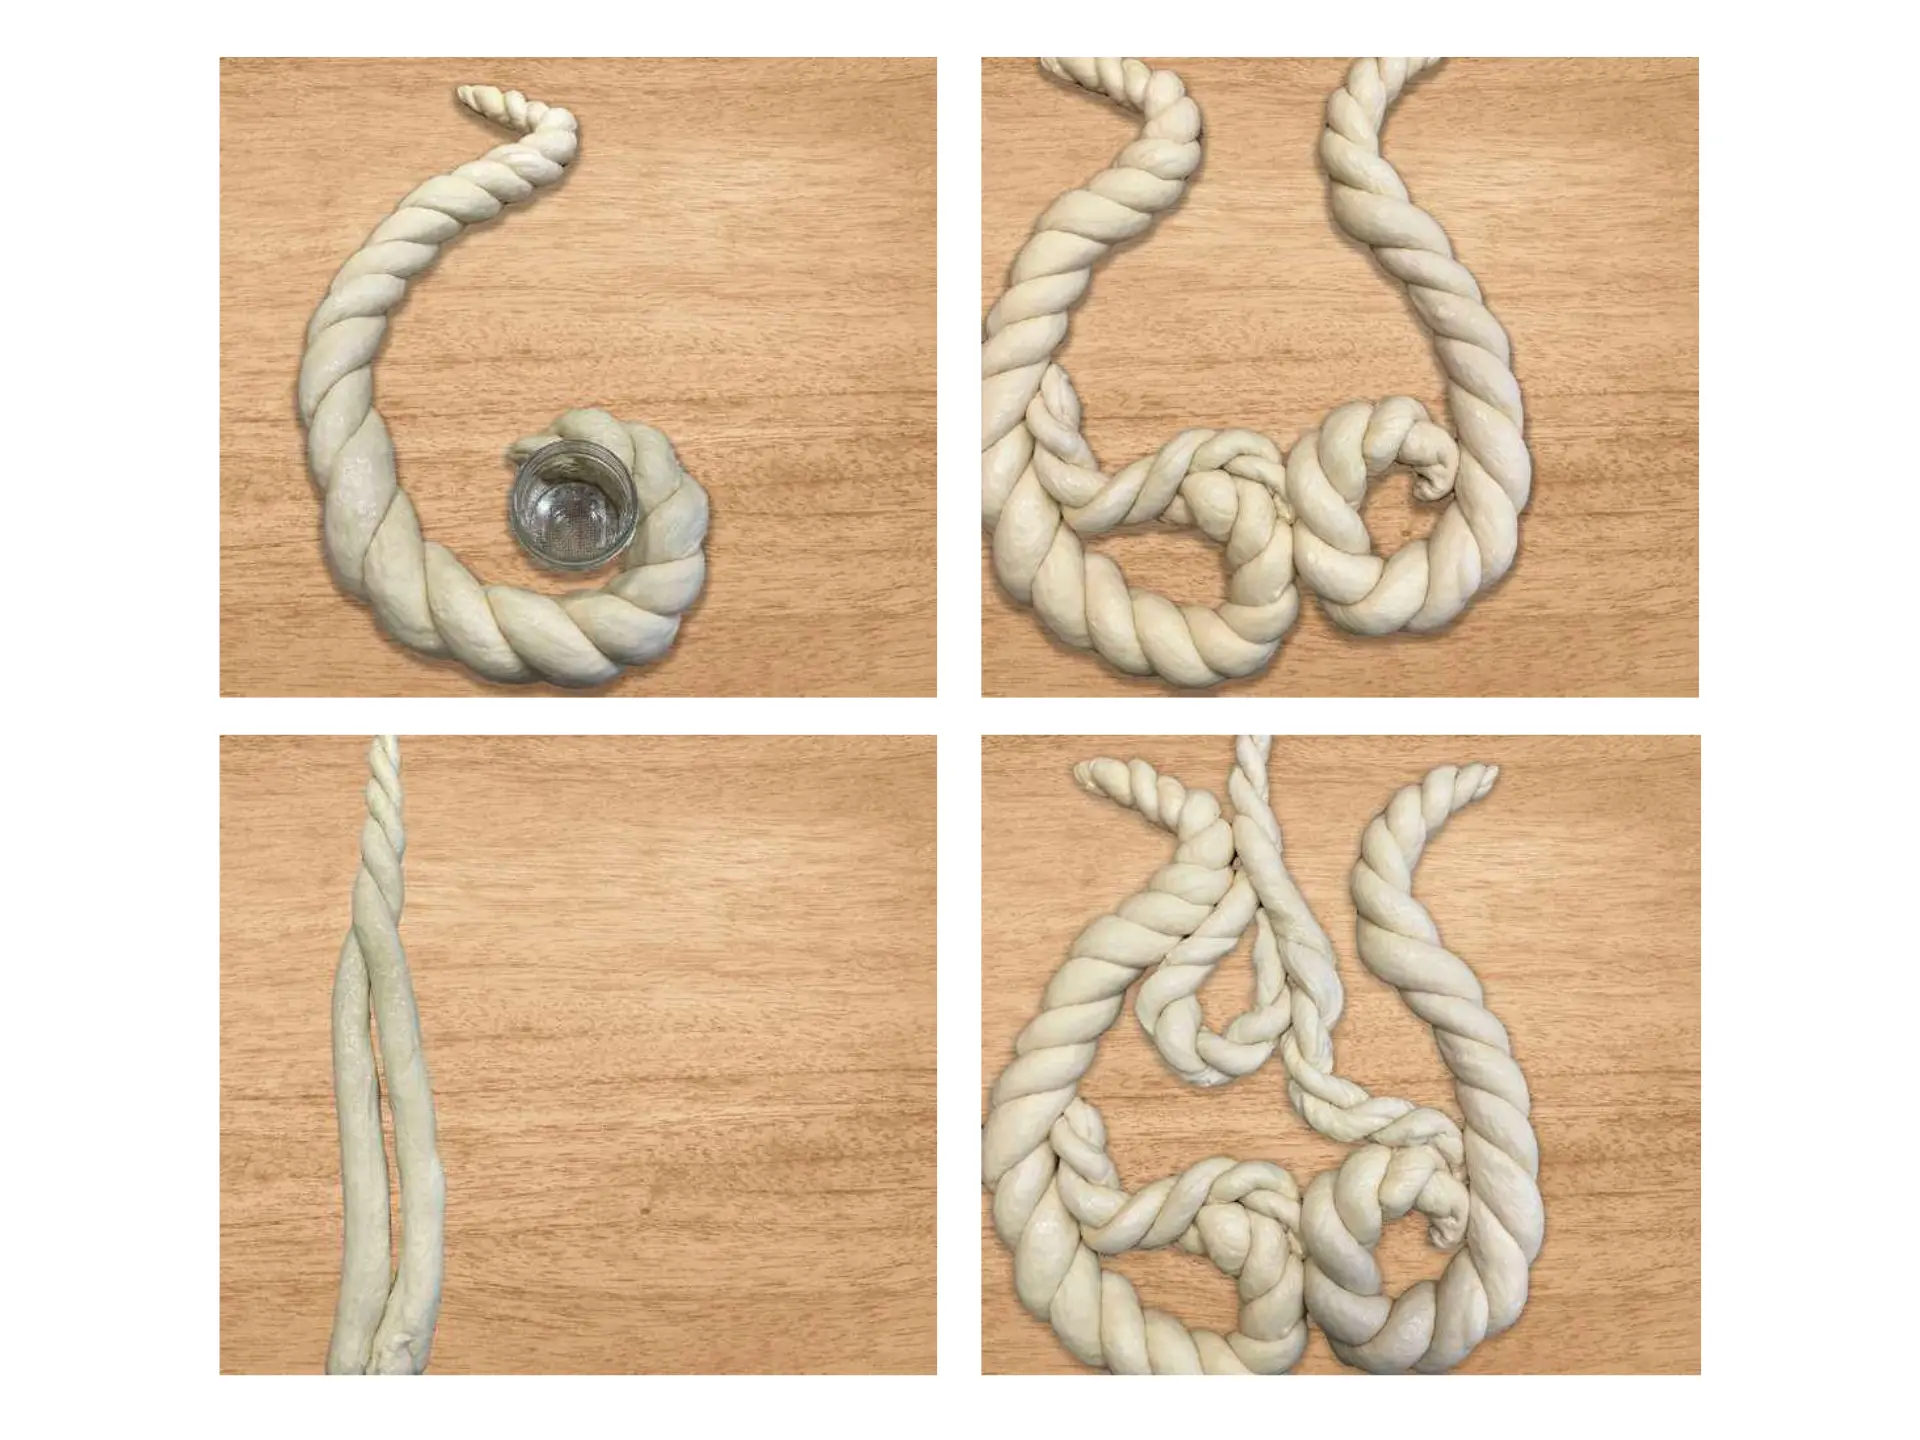
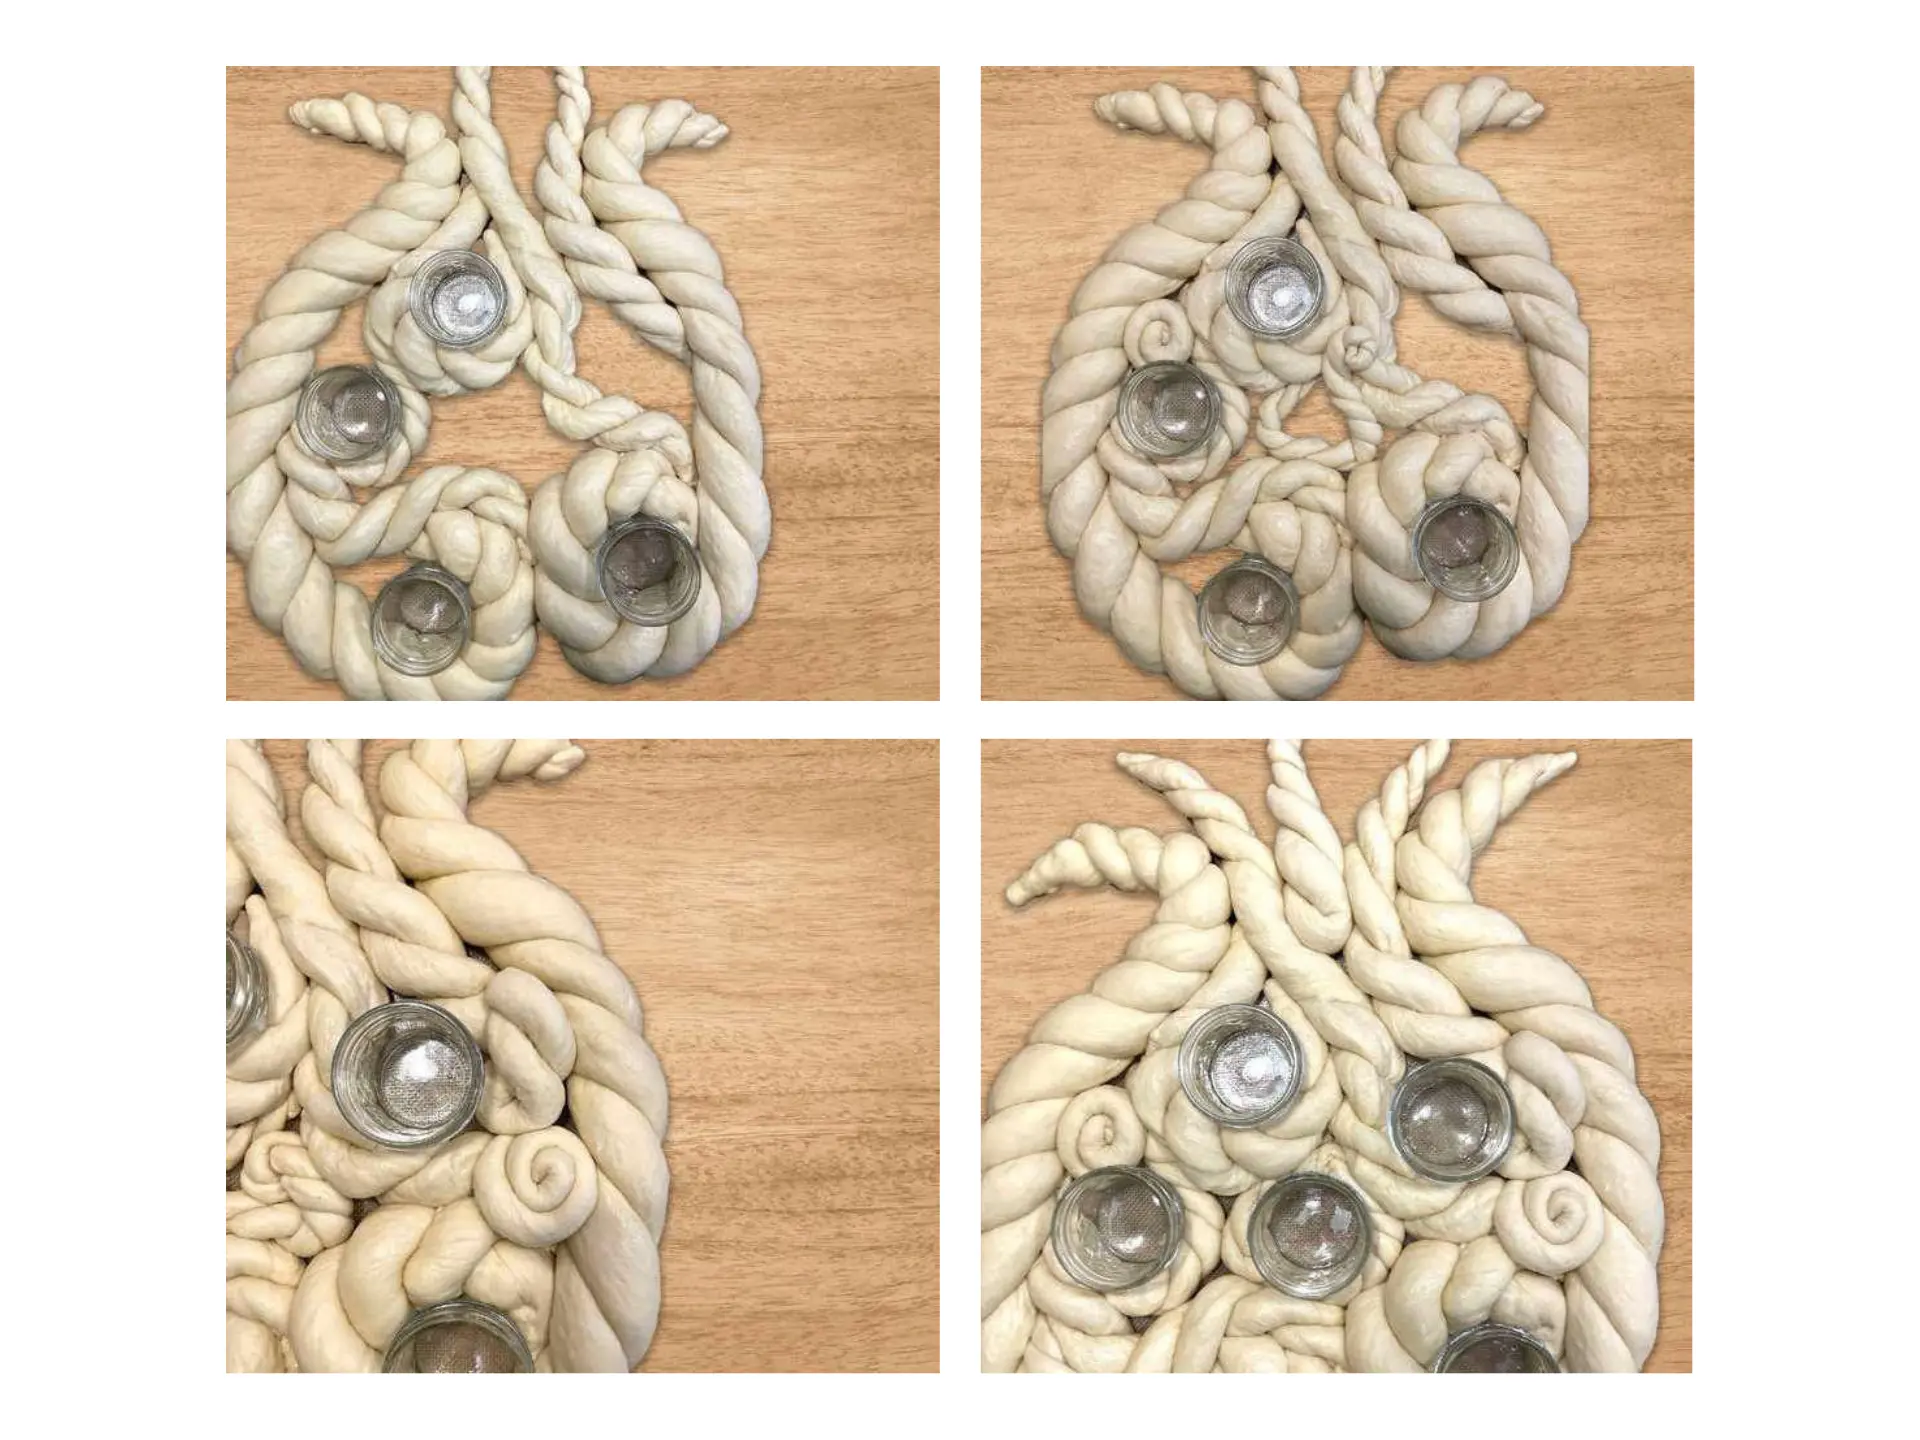
Place two of the strands vertically alongside a small glass, like a mini honey jar or shot glass. (Refer to the step-by-step images in the recipe gallery.)
Add a smaller twist to close the space for the bowl on the left.
Now we’ll create a third piece of the “crown of the rimon.” Using a large piece of dough, divide in two and start the twist, leaving the bottom open.
Use a pizza cutter or bench scraper to divide the two loose strands into four, and then twist those into two twists.
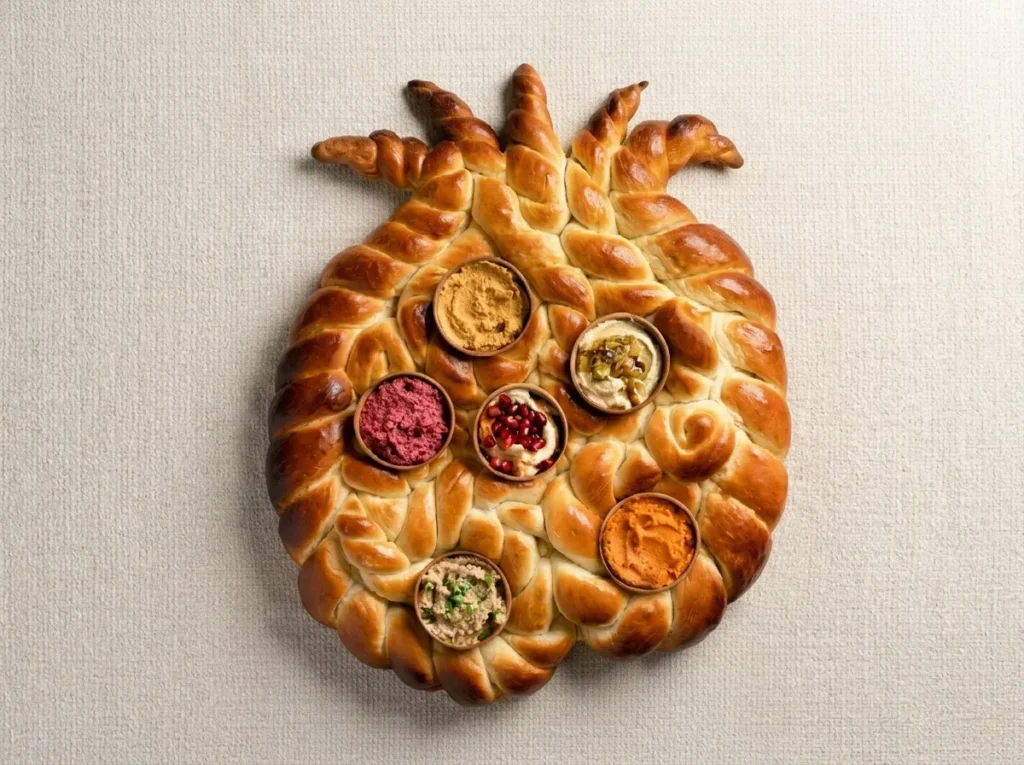
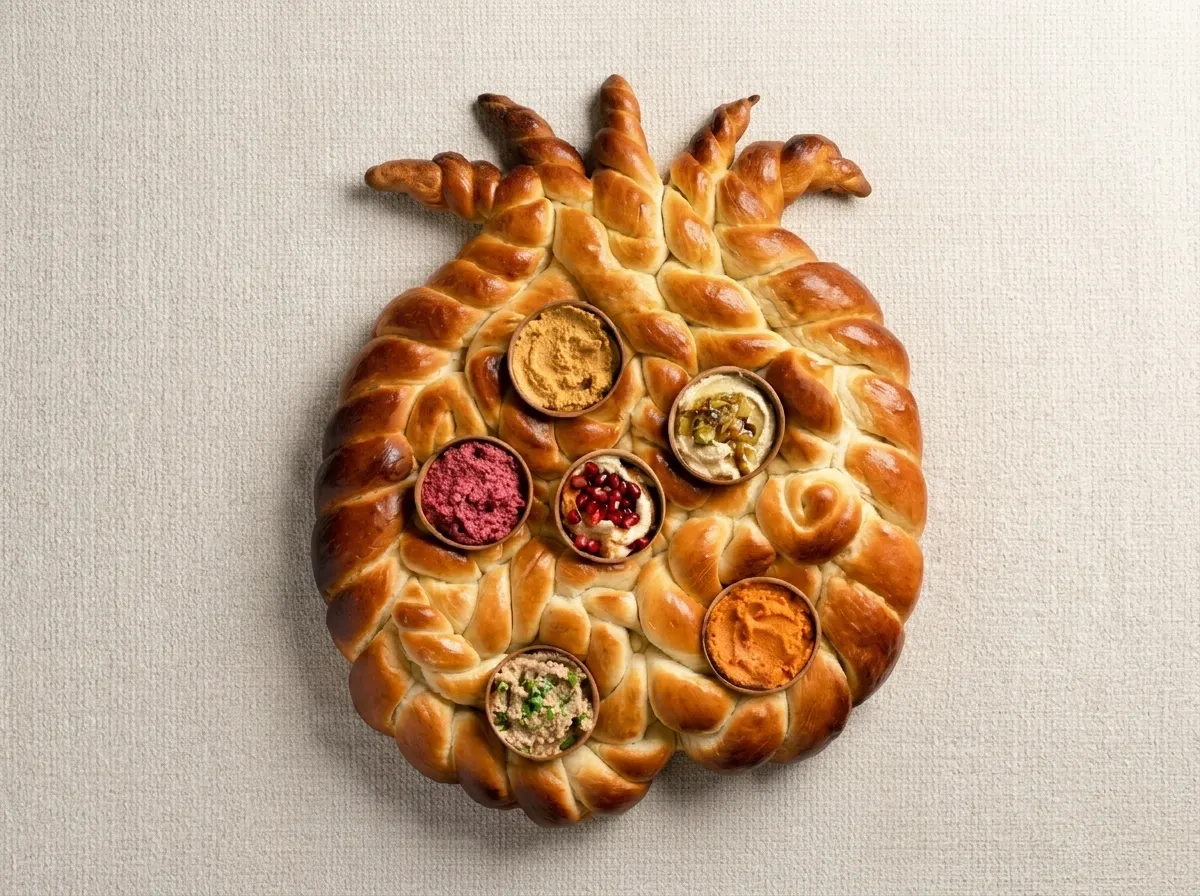
Arrange the top of the twist as one of the points of the “crown” and bring the two connected twists into the rimon as pictured. One of the twists will create another space for a bowl. That’s three bowl spaces so far.
Create another smaller twist, to make space for the fourth bowl on the left side of the rimon.
Now you’ll make another twist and place it at the top of the rimon for the fourth point of the “crown.” Tuck it a bit under the right side of the rimon.
Using small pieces of dough, make little “rollups” that you can use to fill spaces, such as the one pictured on the left.
Use some twists and rollups to encircle the space for the sixth bowl on the right.
Take one strand and fold it up from the center, creating a final twist for the center point of the “crown.”
Bake in an oven preheated to 350 degrees Fahrenheit for 50 to 60 minutes.




Photos from Our Community
See how these recipes turned out in real kitchens. Photos from home cooks will appear here as they're shared.
Tell Us How It Went: Share Your Experience
Your review could help someone decide what's for dinner tonight. Log in to join the conversation.
Log in to join the discussion0 Comments
Do you want to rate this post?
Edit your rating
Choose a new star rating and save it.
Moderation
Report
Kosher Comments
Kosher Comments
Add a link
Posting comment
Your comment will be posted in a moment...